Hey folks. I'm one of those people who isn't all that great at painting and even if I was, I would rather get models finished than take forever on them and only have 2 out of 25 painted. So, I like simple schemes. Paint schemes are made simple by a few things:
1. base your models
2. black wash
3. confidence
4. a very basic understanding of how paints work, how to drybrush, how to use wash.
Honestly, that's it. Let me show you on my Aquan Prime models from Firestorm Planetfall (suuuuch an amazing game):
 |
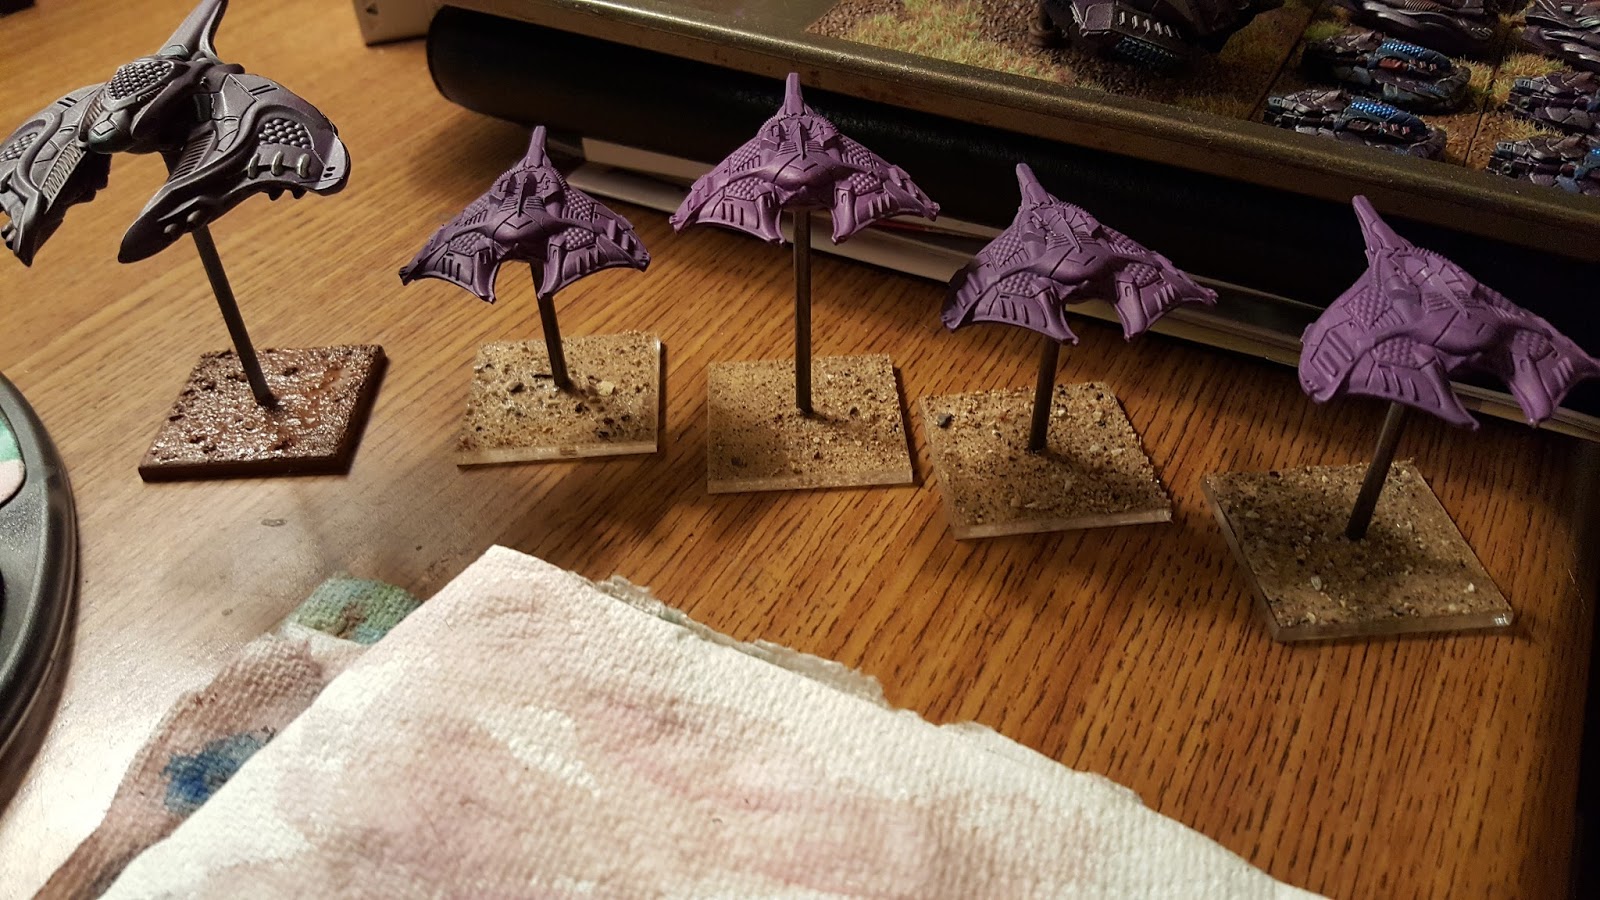
| Here they are! Well, 4 out of 5 and I'm not even going to use these 4 Aquan interceptors... Here's how to start. Get those models out and clean them up. You can use an exacto knife or whatever knife and carefully shave off the mold lines. You may need clippers to clip off weird bits from the mold making process. Then, I used crappy walmart grey primer that cost next to nothing and I sprayed them lightly, not in a freezing environment, aiming as upright as possible, and keeping it thin. This keeps the detail intact. Primer helps the paint coat well. |
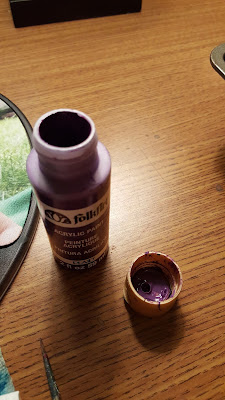 |
| Here's the cheap purple we will start with. Cheap Folk Art from Walmart with a couple black paint drops to darken it. Be careful because black paint goes a really long way when mixed with stuff! |
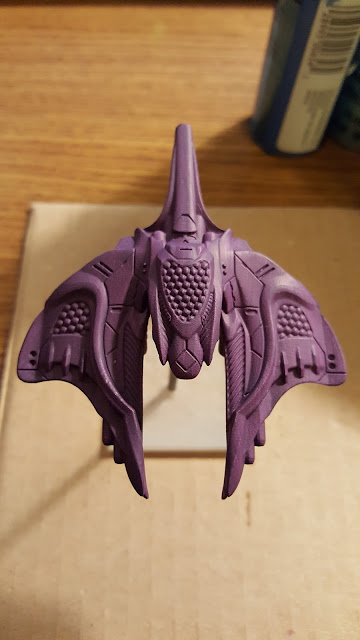 |
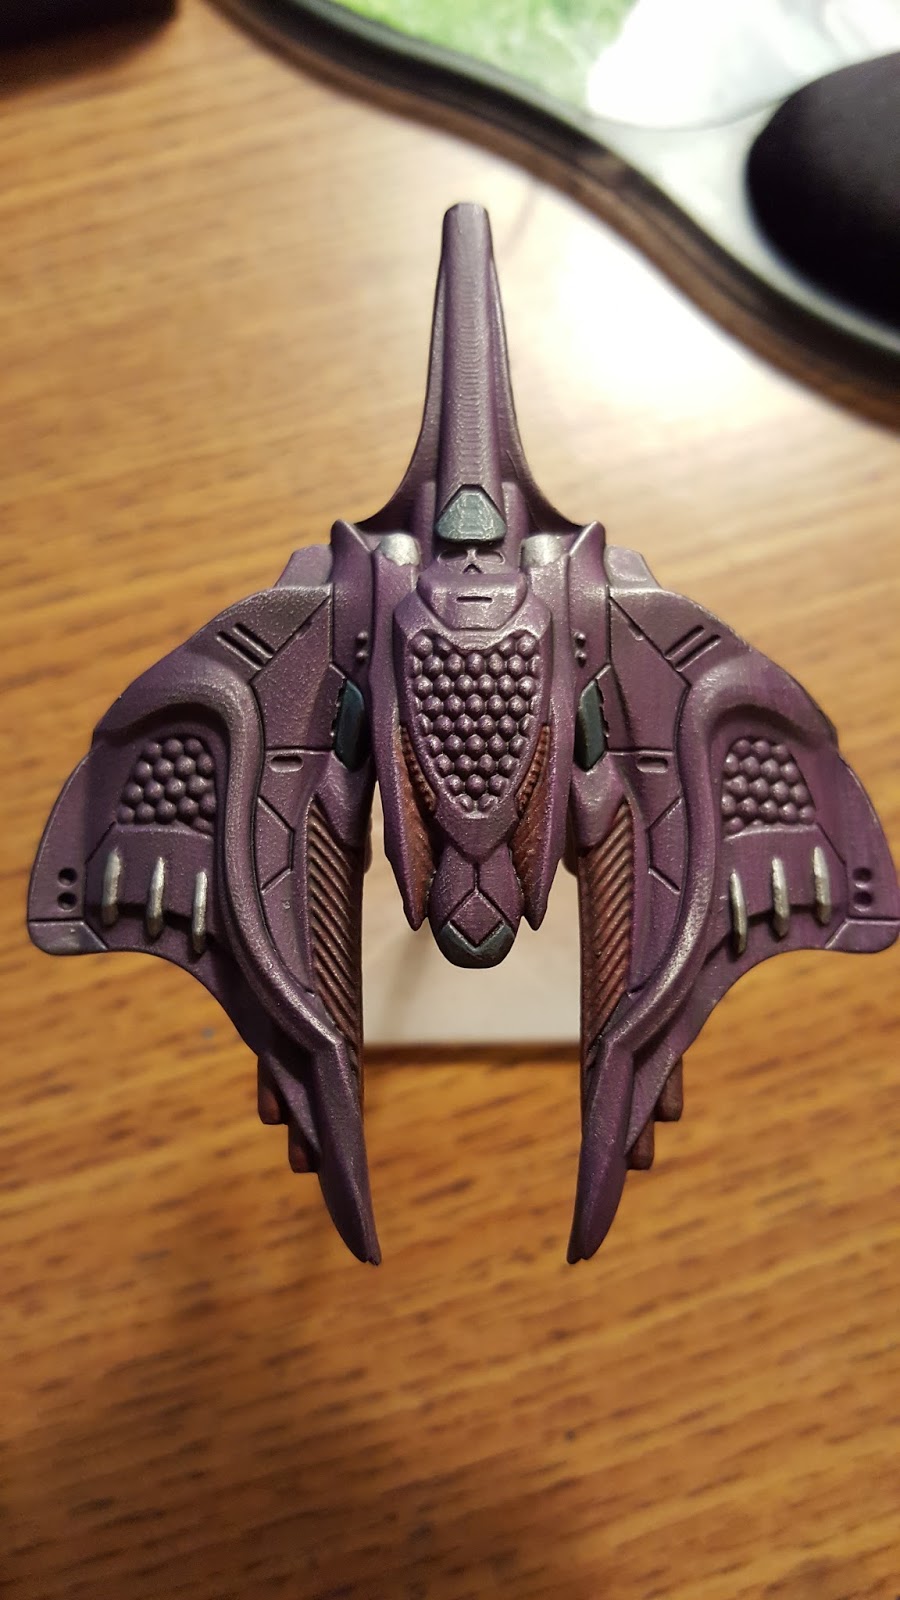
| Here's the model I'm going to be showing you. After priming and gluing to its base, I painted it purple with two layers of the purple I showed you and made sure it was entirely dry in between. Layer them lightly to keep it smooth. This picture shows it with the purple still a little wet. This step is called the base coat. |
 |
| Here are the other paints I will be using. From the left: NOT Nuln Oil. It's basic red with a few drops of black to make a deep red. Basic blue called Enchanted Blue from the old Citadel line. Citadel Thunderhawk Blue, Citadel Mephiston Red or some basic red. All of these paints can be cheap stuff from Walmart but may use two layers. |
 |
| After the purple, use the dark red and pick up some part of the models that will be that color. On my Aquans, I paint the ribbed parts and the guns. This paint is still wet. |
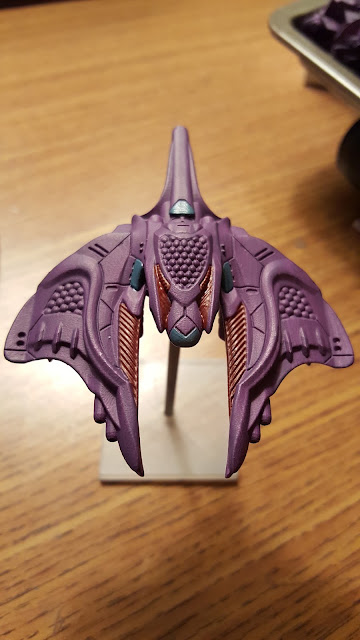 |
| Next is the grey-blue. Pick out a few panels on the model. Remember what you chose and why so you can use this same mentality with your entire army. |
 |
| Now I use the standard blue. I am only going to use it to detail some of the weaponry. I chose the blue missiles on this model. |
 |
| Now on to the silver. I used Citadel bright silver which I did not show in my picture with paints before. I paint the engines and little sliver parts. |
 |
| Here too, and the little doors or whatever they are on the bottom. |
 |
| Now on to a not so common addition to this paint scheme. I drybrush the entire model now with a light silver. This is actually not a common trick but it makes these models like a little sparkly and alien. Generally, I would drybrush the purple with a lighter purple right after the base coat. |
 |
| Now one of the secret weapons of making miniature painting easy. It's the black wash. Some people like dark brown wash but I always use black. Basically, you paint on the black wash with a larger brush, covering the entire model. You just need to make sure there are no clumped up area. |
 |
| Now the wash is dry and you can see, it muffles the color a bit. Some people will not like what this does to the model, but a later step helps bring the vibrancy out again. |
 |
Here it another tactic that adds some spice to your models. Metallic paint! Cheap stuff from Walmart. Before these metallics, I'm going to base the model and varnish it.
 |
| Let's get to basing. White glue that base up on the top. |
 |
Let the sand roll over the wet glue.
 |
| After the sand is TOTALLY dry, paint it brown. I like to paint it over with the brown watered to about milk consistency. May take a few layers. |
|
 |
While it takes forever to dry, I glue more bases laying around.
|
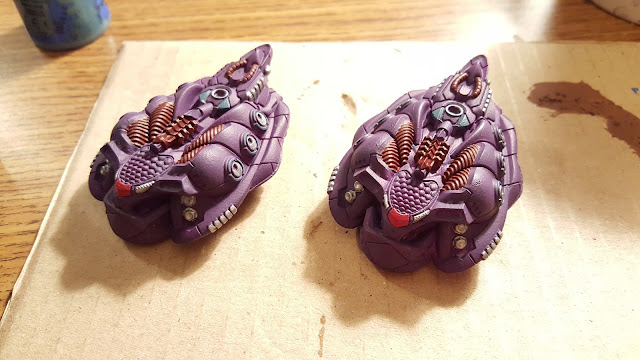 |
| Still more drying to do so I worked on some Aquan APCs. |
 |
| Here's the dried brown. Drybrush it over with an ochre or tan color. Paint the sides with the brown you used. |
 |
Blob some glue on and get ready for the static grass!
|
 |
| Take a clump of the static grass and shove it in the glue, not hard enough to feel the glue with your fingers, but enough to clump it up. I use two colors. |
 |
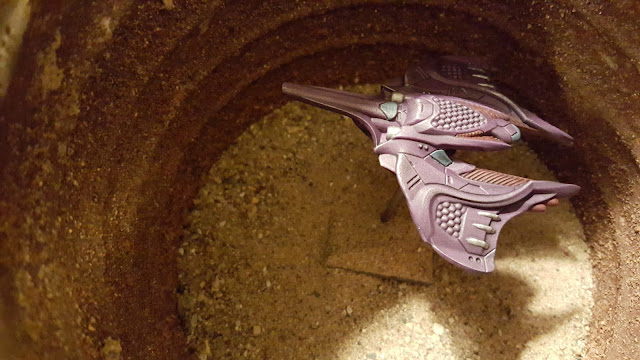
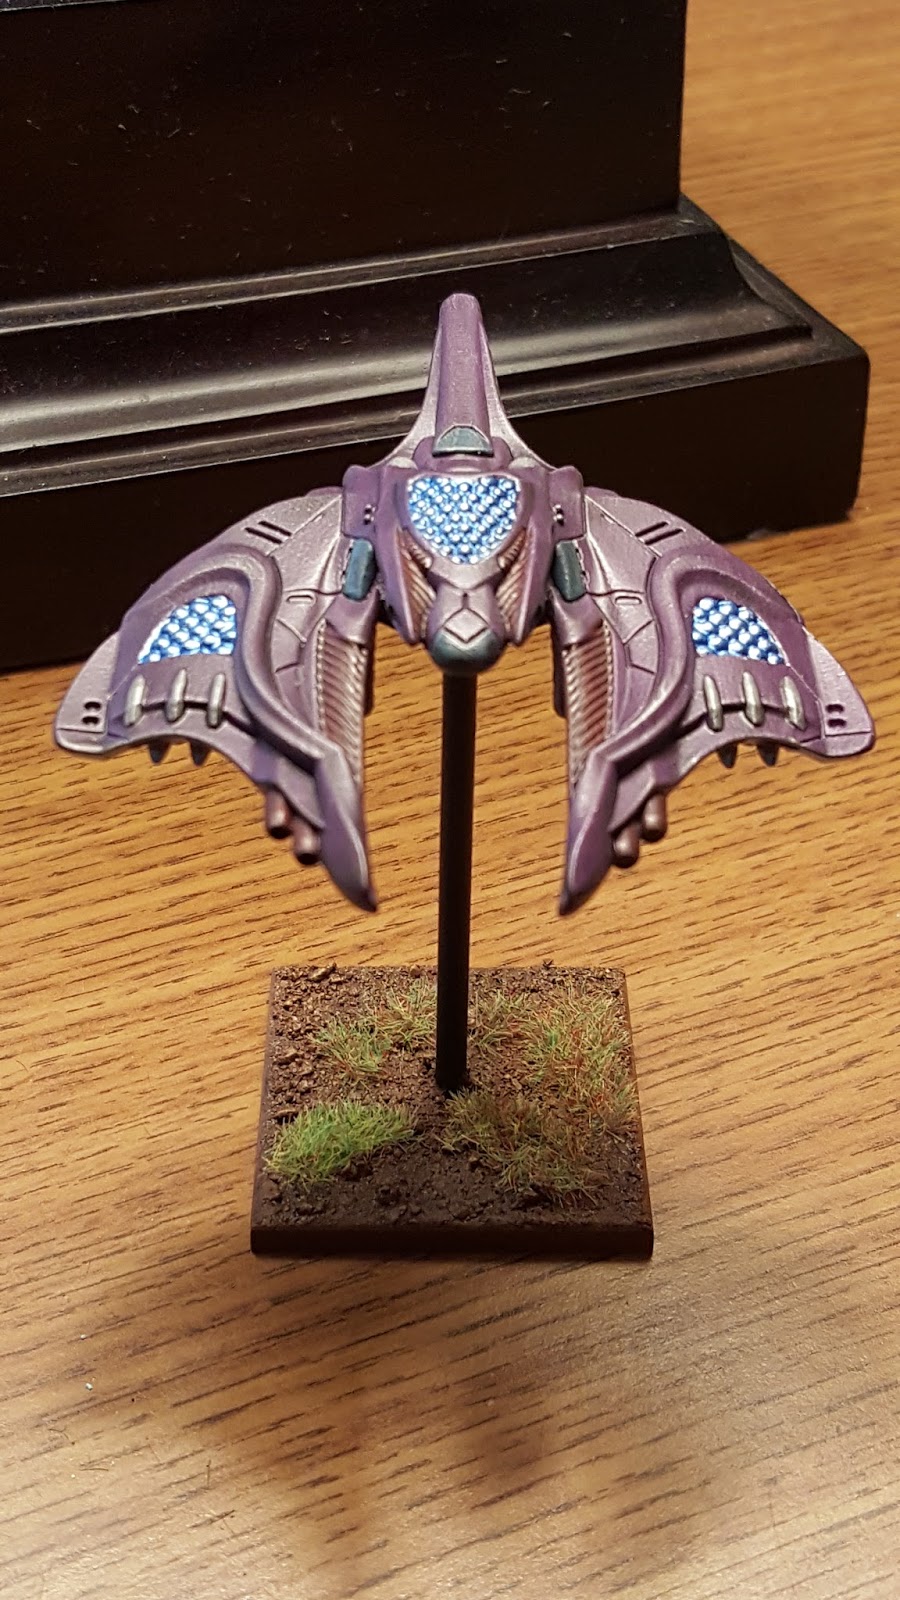
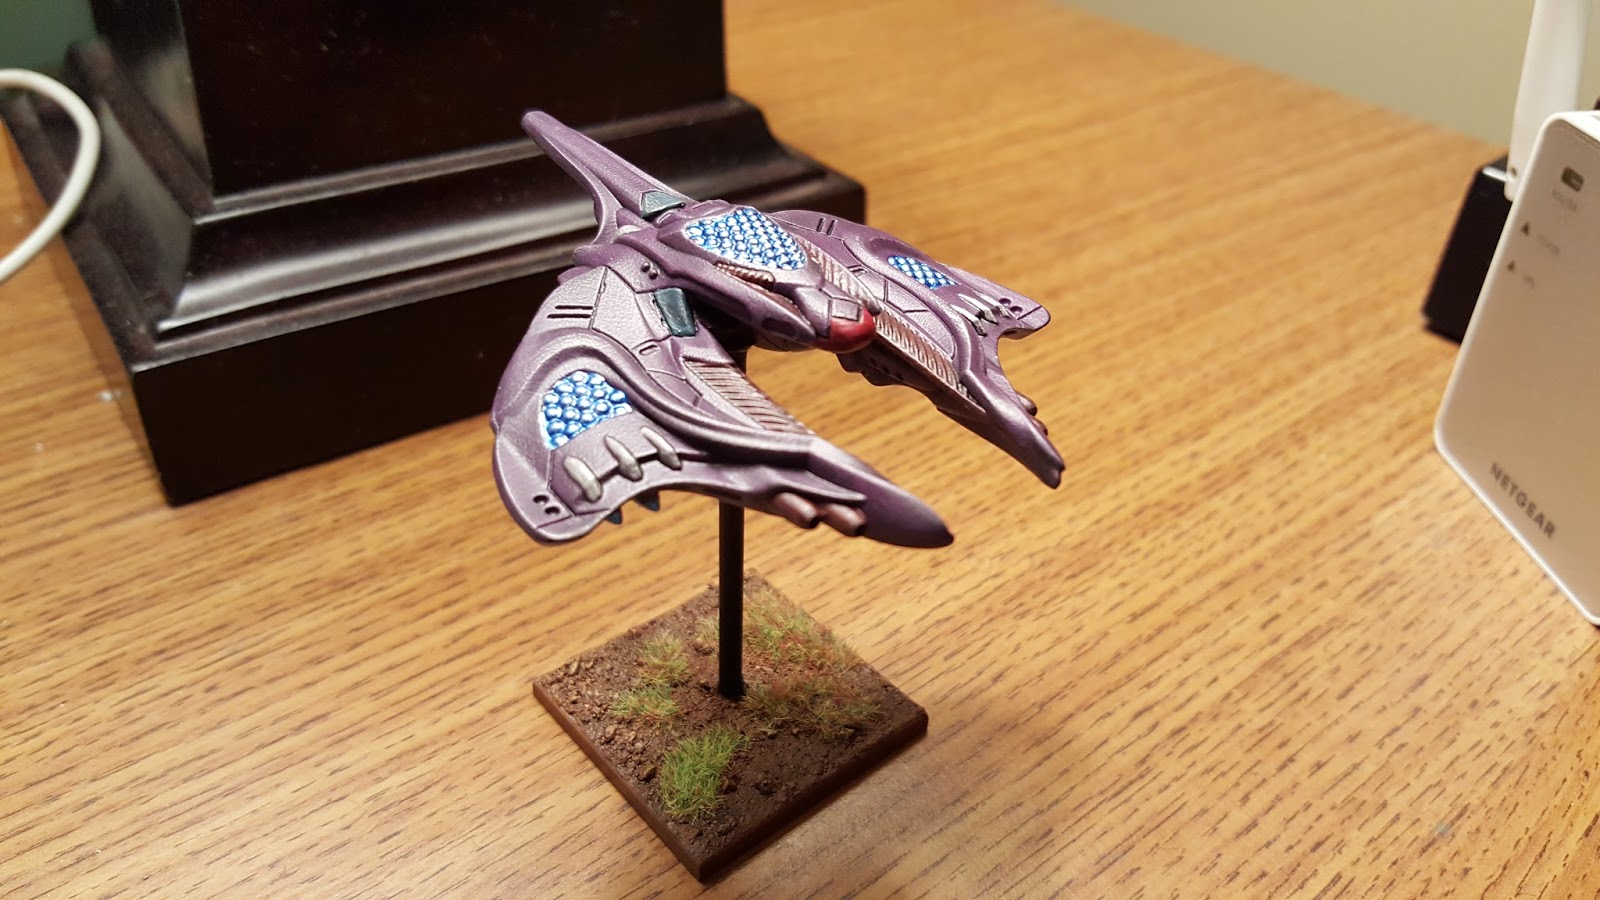
| While the base dries, paint metallic blue on the bubbles areas. After it dries, drybrush/overbrush a lighter metallic blue over the bubbly parts. Then, when that's dry, paint it with a lacquer varnish to give it shine. Also, paint the stand black. |
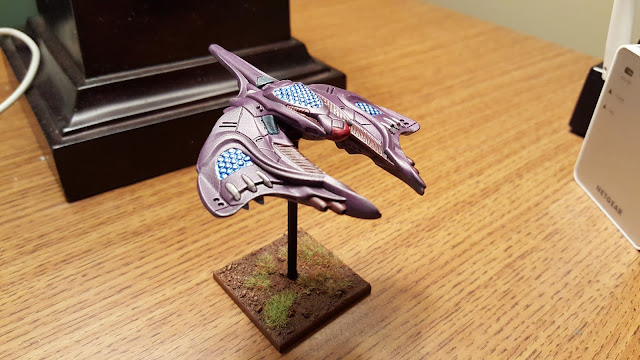 |
Here's the finished model! I changed the cockpit to red and washed it black. Hope you like it!
|
|


No comments:
Post a Comment